|
Growing a garden in an apartment or other small space is the ultimate test of plant growing ingenuity. When most people think of growing something indoors they think they need a nice sunny window to put the plants in. While a bright sunny window is nice to have it is by no means the only way to grow a garden in an apartment anymore.
With the advent of low cost, long lasting LEDs you can grow a garden just about anywhere without it costing a substantial amount of money. Just as an example you can see in a picture below where I grew cherry tomatoes and salad greens all winter long in an otherwise very dark room. This room hardly got any daylight into it and certainly none on the wall where I put the pots. 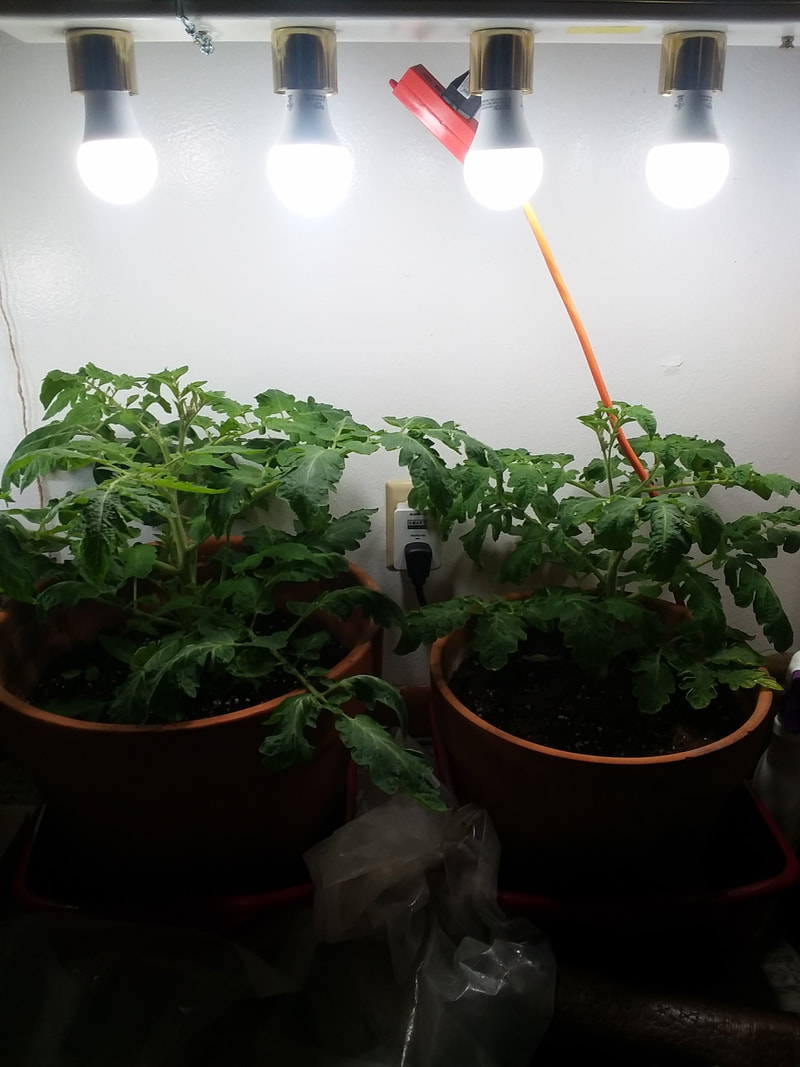
If you want to grow a garden inside then what you want to do is maximize efficiency in the following ways,
Lights When it comes to growing food inside I find it is best to start with your light setup. You want something that is adjustable in height so it can be raised or lowered according to plant height. It is important to keep lights just above the plant you are growing because this will get the most light to impact the plant leaves. Even with today's LEDs you still need to be close to the plant to offset the fact that light bulbs are not the Sun. Light systems can be purchased commercially like this one or you can make your own from DIY parts. The commercial bought systems are not cheap but they come with all the bells and whistles and come with bulbs specifically tuned to produce light in the wavelengths plants need for photosynthesis. A DIY system is not for the faint of heart and I do not recommend them unless you are comfortable with doing your own wiring. That wiring can be as complicated as actually wiring up an entirely new light system or just modifying an existing one. The one seen in this photo below was my approach since I could get the parts for a very low cost. It consists of an old bathroom vanity light wired up to be plugged into a wall receptacle instead of being hardwired. 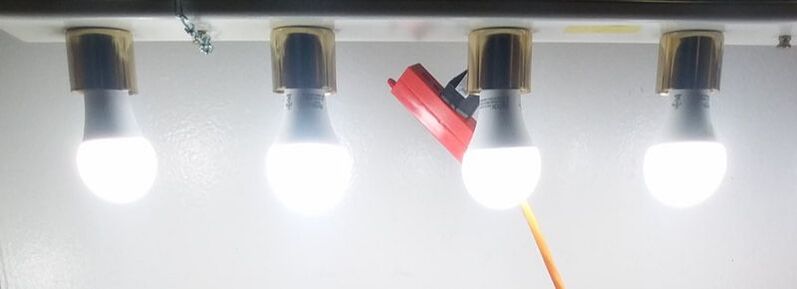
Just to reiterate if you are not confident in your ability to do electrical wiring or you live in a location that doesn't allow it,
DON'T DO THIS and I am not liable if you do and something bad happens. If you assemble your own grow lights you can either do something like I did you can use what I call a shop light setup. Doing it this way can be nice because you can get the same LED technology in these and they are built in a way that puts light where you want it. You can also get these with a receptacle plug pre-installed so that means no wiring for you which can be a stress reliever. When you buy the bulbs make sure to get ones that are at least 100 watts and in the daylight part of the light spectrum. These bulbs will put out a bright white light instead of the softer more yellow light usually found in most home lamps. An example of what I mean for the standard A21 bulb is below. 
Growing Medium
The choice of what to grow your plants in can have a dramatic effect on the cost of the setup and the ongoing effort to make it work. In terms of expense the bottom of the shelf is just regular potting soil you would use in a pot. Most potting soils are soil less and are instead a mixture of organic and inorganic parts. Some of the most common potting soils are made from peat moss, vermiculite, and perlite which are all great at holding water and nutrients for the plant to use. The next step up is to use a hydroponic system that flushes a nutrient rich water over plant roots periodically. This system requires something for roots to anchor on like, clay pebble, coco chips, pine shavings or just plan old river rock. These systems are nice because they tend to be lightweight unless you use rock and you get very good production when compared to a potting soil setup. They do come with more expense because you have to supply extra nutrients, buy pumps and timers to regulate water flow and they use more electricity than a potting soil system. The step up from that is aeroponics which is basically hydroponics that does away with the growing medium altogether. It used fine misters to spray plant roots with a fine nutrient rich mist. It can work great when it works but this system is highly dependent on nothing going wrong. A power loss or a water supply failure causes the roots to dry out in minutes and you can lose a crop just as fast. So aeroponics is not for the faint of heart or for people that like to set it and forget it. To put these systems in terms of ease of use and likelihood of failure I would put them in the same order as expense. The addition of a water/nutrient holding medium in the first two systems reduces the chances of total failure. You have more time to catch and fix whatever is going wrong in the system. What I would do If I was a new indoor gardener I would set up the following system. I would use a soilless potting soil with a built in catch basin to hold extra water. I would place them under pre-purchased shop lights because of the ease of setup and the ability to raise and lower the lights easily. If I had the room I would multiple shelves of produce from floor to ceiling with 3 feet between each shelf. This should give enough room for most plants to grow while providing clearance for the lights. The plants I selected would most likely be any or all of the following,
I picked them because they continually produce and they don't need any pollination to produce. Hopefully, this gives you some ideas or inspiration to start growing your own indoor garden this winter so you can enjoy fresh produce all winter long.
0 Comments
Leave a Reply. |